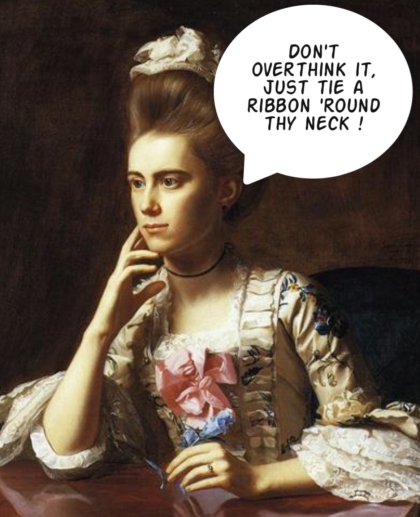
Chokers have been baa-aaack for awhile now. (Where’d they go anyway?! They’re the best!)
And now they’ve trickled down into all the fastest of fast fashion stores. Yet, I frequently see plain ribbon or string chokers priced at around… $15-20! Wait, what? (Or if you wanna get real crazy, Bartoli sells ribbon chokers for $115 if that’s your jam.)
Get thee to a place that sells ribbons and you can have a few foxy, unique chokers for pocket change!
Let’s start with the lariat style choker which was one of the first ribbons I saw priced up. These are the simple, usually suede-look string chokers that wrap around a couple of times and then are loosely tied. They usually feature metal tips to keep the strands weighted attractively down the front. I find them great on their own, or a good companion to a bolo tie.
If you’re luckier than I am, you might find some bolo hardware to finish off the ends, but I discovered that some weighty, embellished silver tube beads worked quite well: 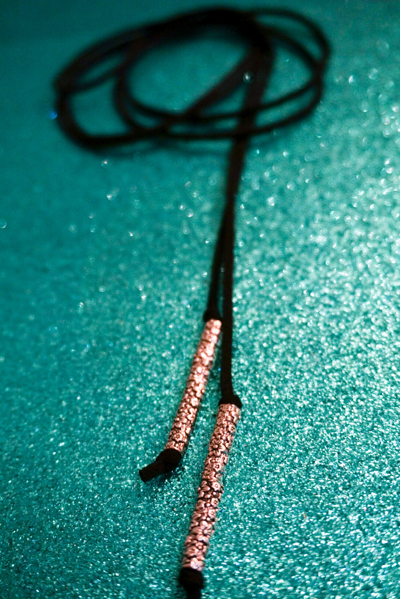
Mine is extra long at about 70 inches. So buying two yards should be plenty to get something that wraps around the neck twice, and ties in front. Then just cut to the desired length. I would recommend fake suede not just for the price, but I find that it lays nicely and won’t chafe.
And now this is where I get into my massive stores of ribbons and trim and start rolling around like a cat. Here are (a fraction of) the results:  Experiments with fringe, like the length of lavender above, were probably my fave results.
To formally make any ribbon into a choker (and I’m not knocking the option of just tying it around your neck), you’ll need something called ribbon crimps or ribbon clamps. These are the flat metal crimps that can finish off the ends, and offer you a loop to attach chain. Most craft stores offer some version of them in the findings section, but if you’re looking for a specific width or finish, it’s wise to take to the internet. In the photo below, you can see I’ve already attached them to a length of ribbon: 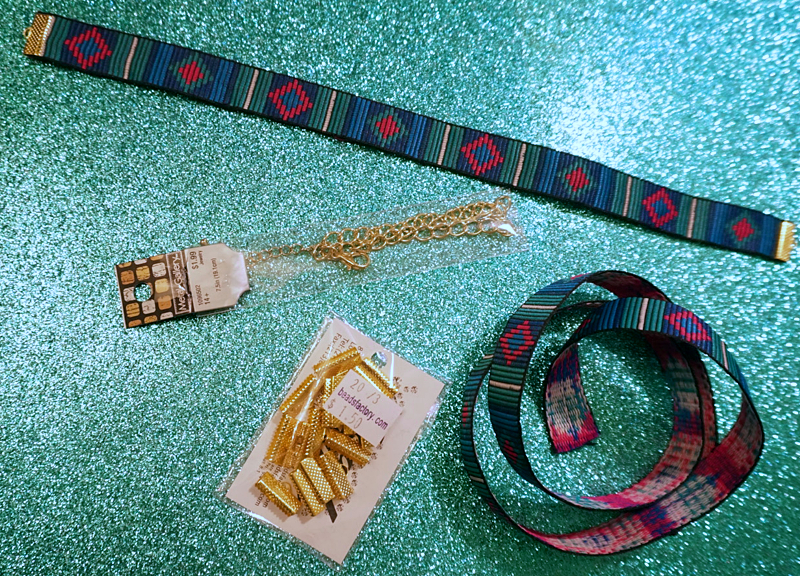 I highly recommend finishing the ends of your ribbon with glue or a product like Fray Check before sandwiching them in the clamp and squeezing the claws down with pliers.
The other findings you’ll need are jump rings, a clasp, and a short length of chain (which can be finished off by a little teardrop pendant if you want to look fancy coming and going).
(Full disclosure: I did breakdown and buy ONE choker at a higher price because some true genius was making them out of vintage ties, and I fell hopelessly in love with the pattern.)


