So, about those bedsheets that I’m always losing my books in…
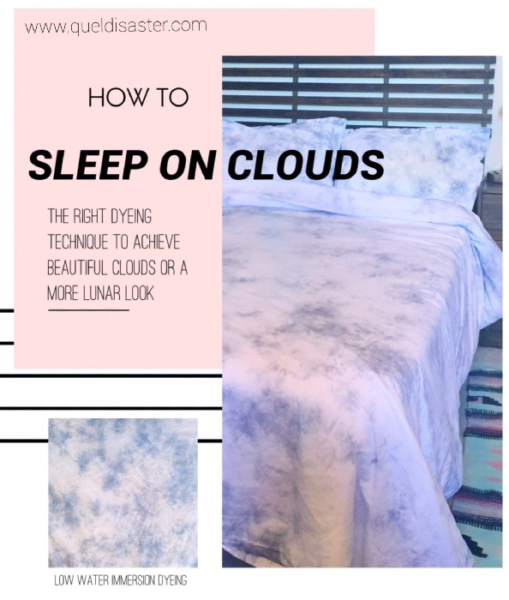
I customized some sheets for my bed a couple years ago, choosing to do a dyeing technique that can have an appearance ranging from cloudy to rocky. This particular style appealed to me partly because I found it beautiful, and partly because: “Hey, this won’t show as much dirt as plain white sheets.”
The technique is called “low water immersion dyeing” and not only can it produce a range of lovely effects, but it’s also a very NON-messy dyeing project!
I gathered my own information on the technique from across the vast expanses of Google, and used tips from just about everywhere, but for a great rundown of the basics, this video is legit: Low Water Immersion Dyeing
You will need:
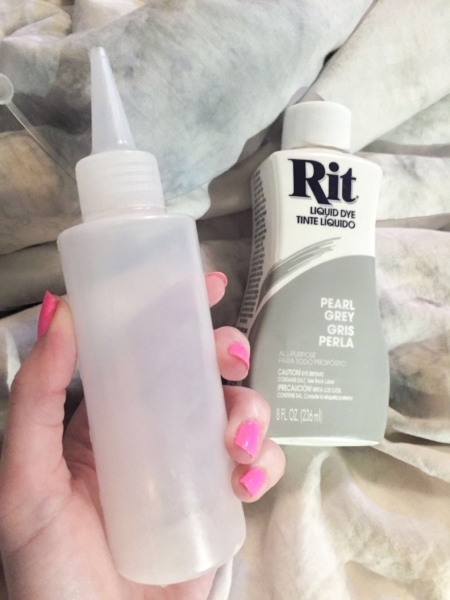
- Rit liquid dye (I used Pearl Grey)
- Plastic squeeze bottle (like a condiment bottle)
- Sheets, pillowcases, hammock, sexy undies, or whatever made of 100% cotton (pre-washed)
- Plastic tubs (read further for details on the best size for your project/desired effect) or a sheet of painter’s plastic
The basic idea of low water immersion dyeing, is that you’re going to scrunch the (wet) fabric into a container or space tightly enough that when you squeeze or pour dye onto it, it won’t be able to reach every part of the fabric. This uneven distribution gives it the beautiful mottled look.
You’ll need to heat water to mix with the dye. I actually just used hot tap water, because if you use a squeeze bottle like I did, it can’t be too hot to hold. Rit recommends 1 part dye to 4 parts water, but feel free to “wing it” based on how intense you want the color.
I practiced on a scrap of cotton which packed rather neatly into some old tupperware. It’s key that the fabric starts off damp as it helps the dye bleed effectively to make those cool patterns!
Then, you simply take your bottle, with the dye/hot water, and squeeze the dye over the hills and valleys of the scrunched fabric. It’s really fun!
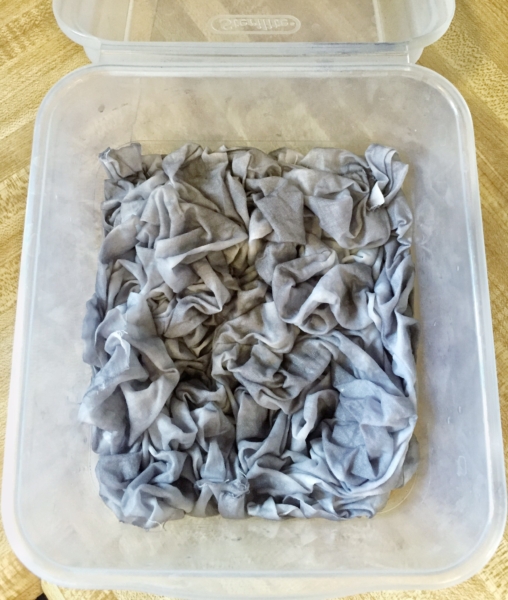
The results of my test were lovely and moonlike.
Because of how densely packed the fabric was, and because the container held the dye in during the time that I let it sit (about 15-20 minutes), it resulted in fairly dramatic contrast and a lot of veins of color. I loved this scrap so much that I stitched it into a throw pillow.
While I had purchased a larger plastic container for the duvet cover, I ultimately decided it still wasn’t big enough and changed course. I ended up covering my tiny kitchen island in painter’s plastic, and scrunching the duvet cover as tightly as I could with no borders. It held it’s shape surprisingly well just from being damp.
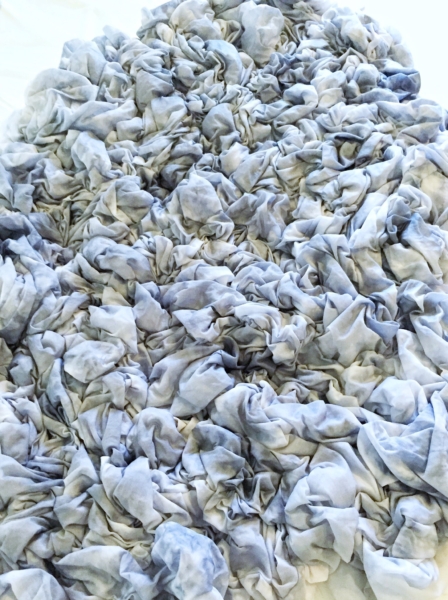
Once I was satisfied with my Pollack-like application of dye, I left it to set for about 30 minutes (longer than the scrap because it wasn’t sitting in a container), then I laundered it in warm water.
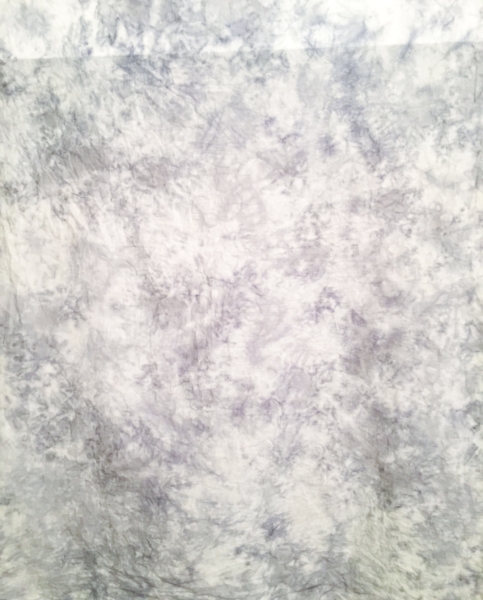
Because of the vast size of the duvet cover and because it wasn’t sitting in a pool of dye, the effect was fairly different from my test piece. That’s part of the joy of doing anything tie-dye related: It doesn’t always come out as expected, but it almost always comes out looking cool anyway.
(NOTE: The Rit color I used, Pearl Grey, also looked different on the test piece and the bed set. Both were bleached 100% cotton, but the bed set almost certainly had a higher thread count, and was likely more chemically processed. Neither one turned out with a strictly “grey” appearance. The test piece/pillow has a slightly lavender hue, and the bed set, bluish.)
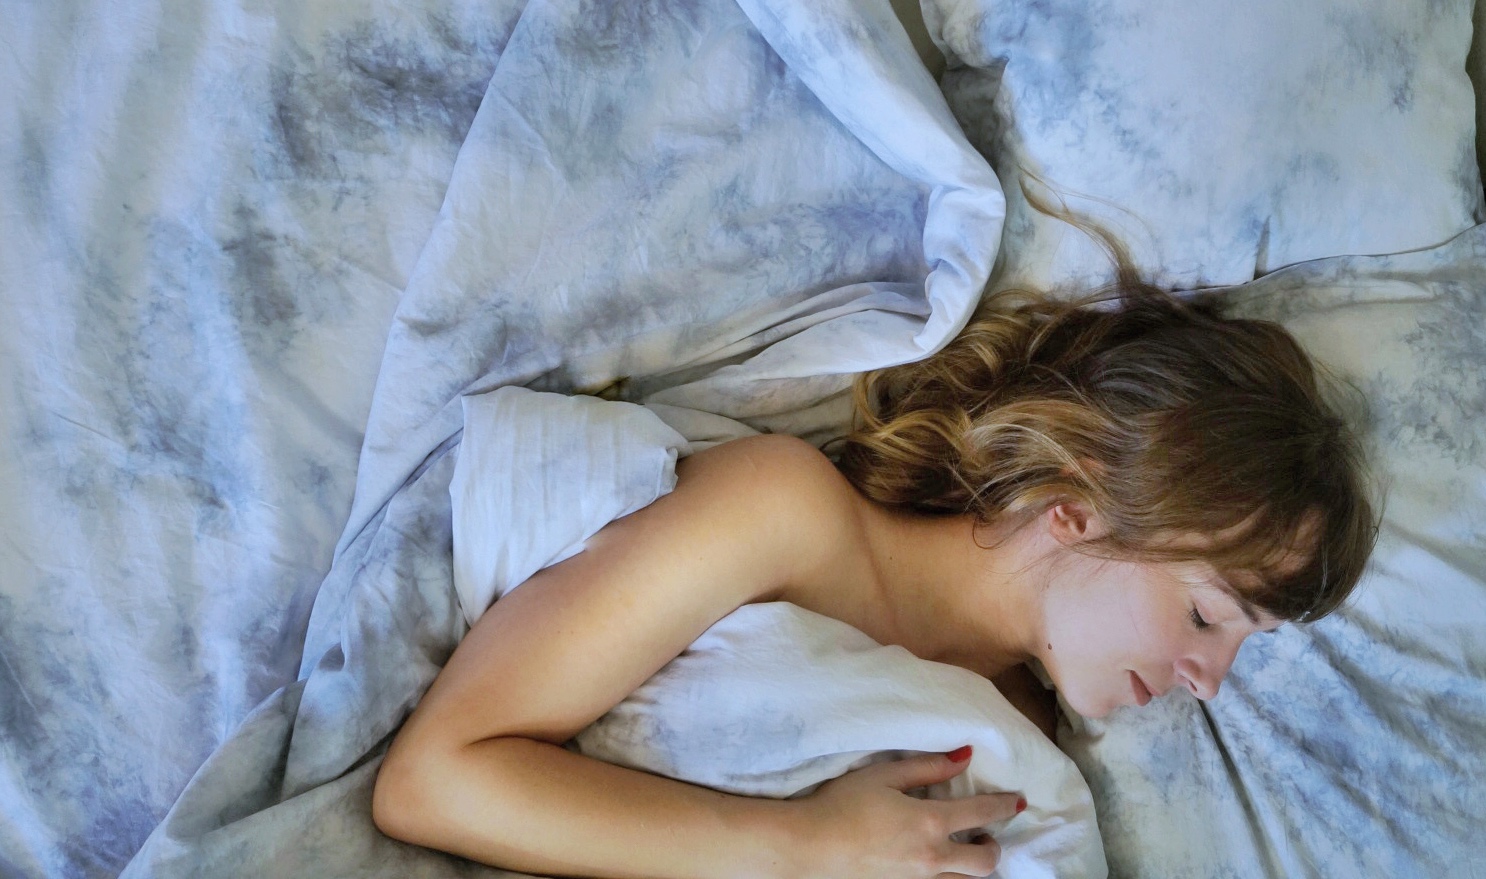
So in the end the duvet cover and shams ended up with a much more subtle, cloudy vibe. I fell in love with it right out of the dryer and have enjoyed sleeping on clouds, with my moon pillow ever since.
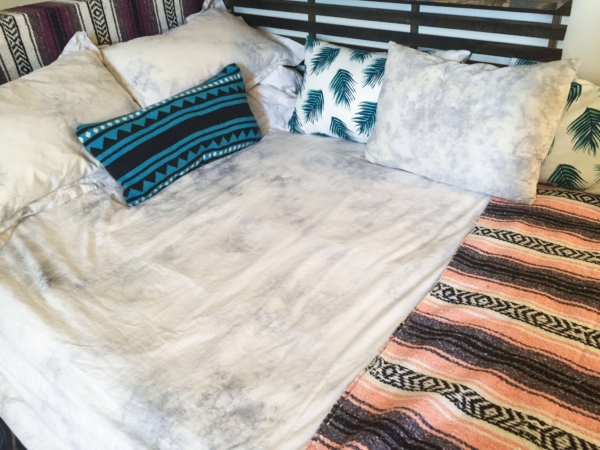
This final photo of the bed is more recent than the first couple of images. As you can see, a couple of years of washings have left the effect intact, but less dramatic. I will likely be giving it a booster dye job soon and will update here when that happens. Until then…