Last time I went to a birthday party at the roller rink, some little kid came up to me and said “Boring skates, dude!” and then pointed and laughed at my skates.
Ok, that didn’t happen. But! It’s the stuff of my nightmares and that imaginary Bully would’ve had a point, because man are these skates lame.
Embellished skates are nothing new, though I’m more familiar with the bladed variety, being an ice skater. So I think it’s time to level up these $5 thrift store skates that have been with me since my high school days. I picked out the glitter weeks ago: a silvery sky blue. I have no idea what I’m doing, but here goes…

Supplies:
– One pair of skates that you don’t mind wrecking (in a good way)
– A pretty glitter – buy something with a lid that can sprinkle!
– Spray paint in a similar color
– A brush-on adhesive/sealer like Mod Podge
– A spray-on adhesive/sealer like Mod Podge spray sealer (high gloss) – ESSENTIAL
– A box lid or tray to hold in the mess and help you reuse glitter
– Tape and bags for prep
Step 1: Prep
– Laces out
– Soles taped
– Rollers covered
– Bags stuffed into the skates to keep inside clean and push out the tongues

Step 2: Paint
– Spray paint the skates in a color that is at least vaguely similar to your glitter. You don’t have to achieve amazing coverage.
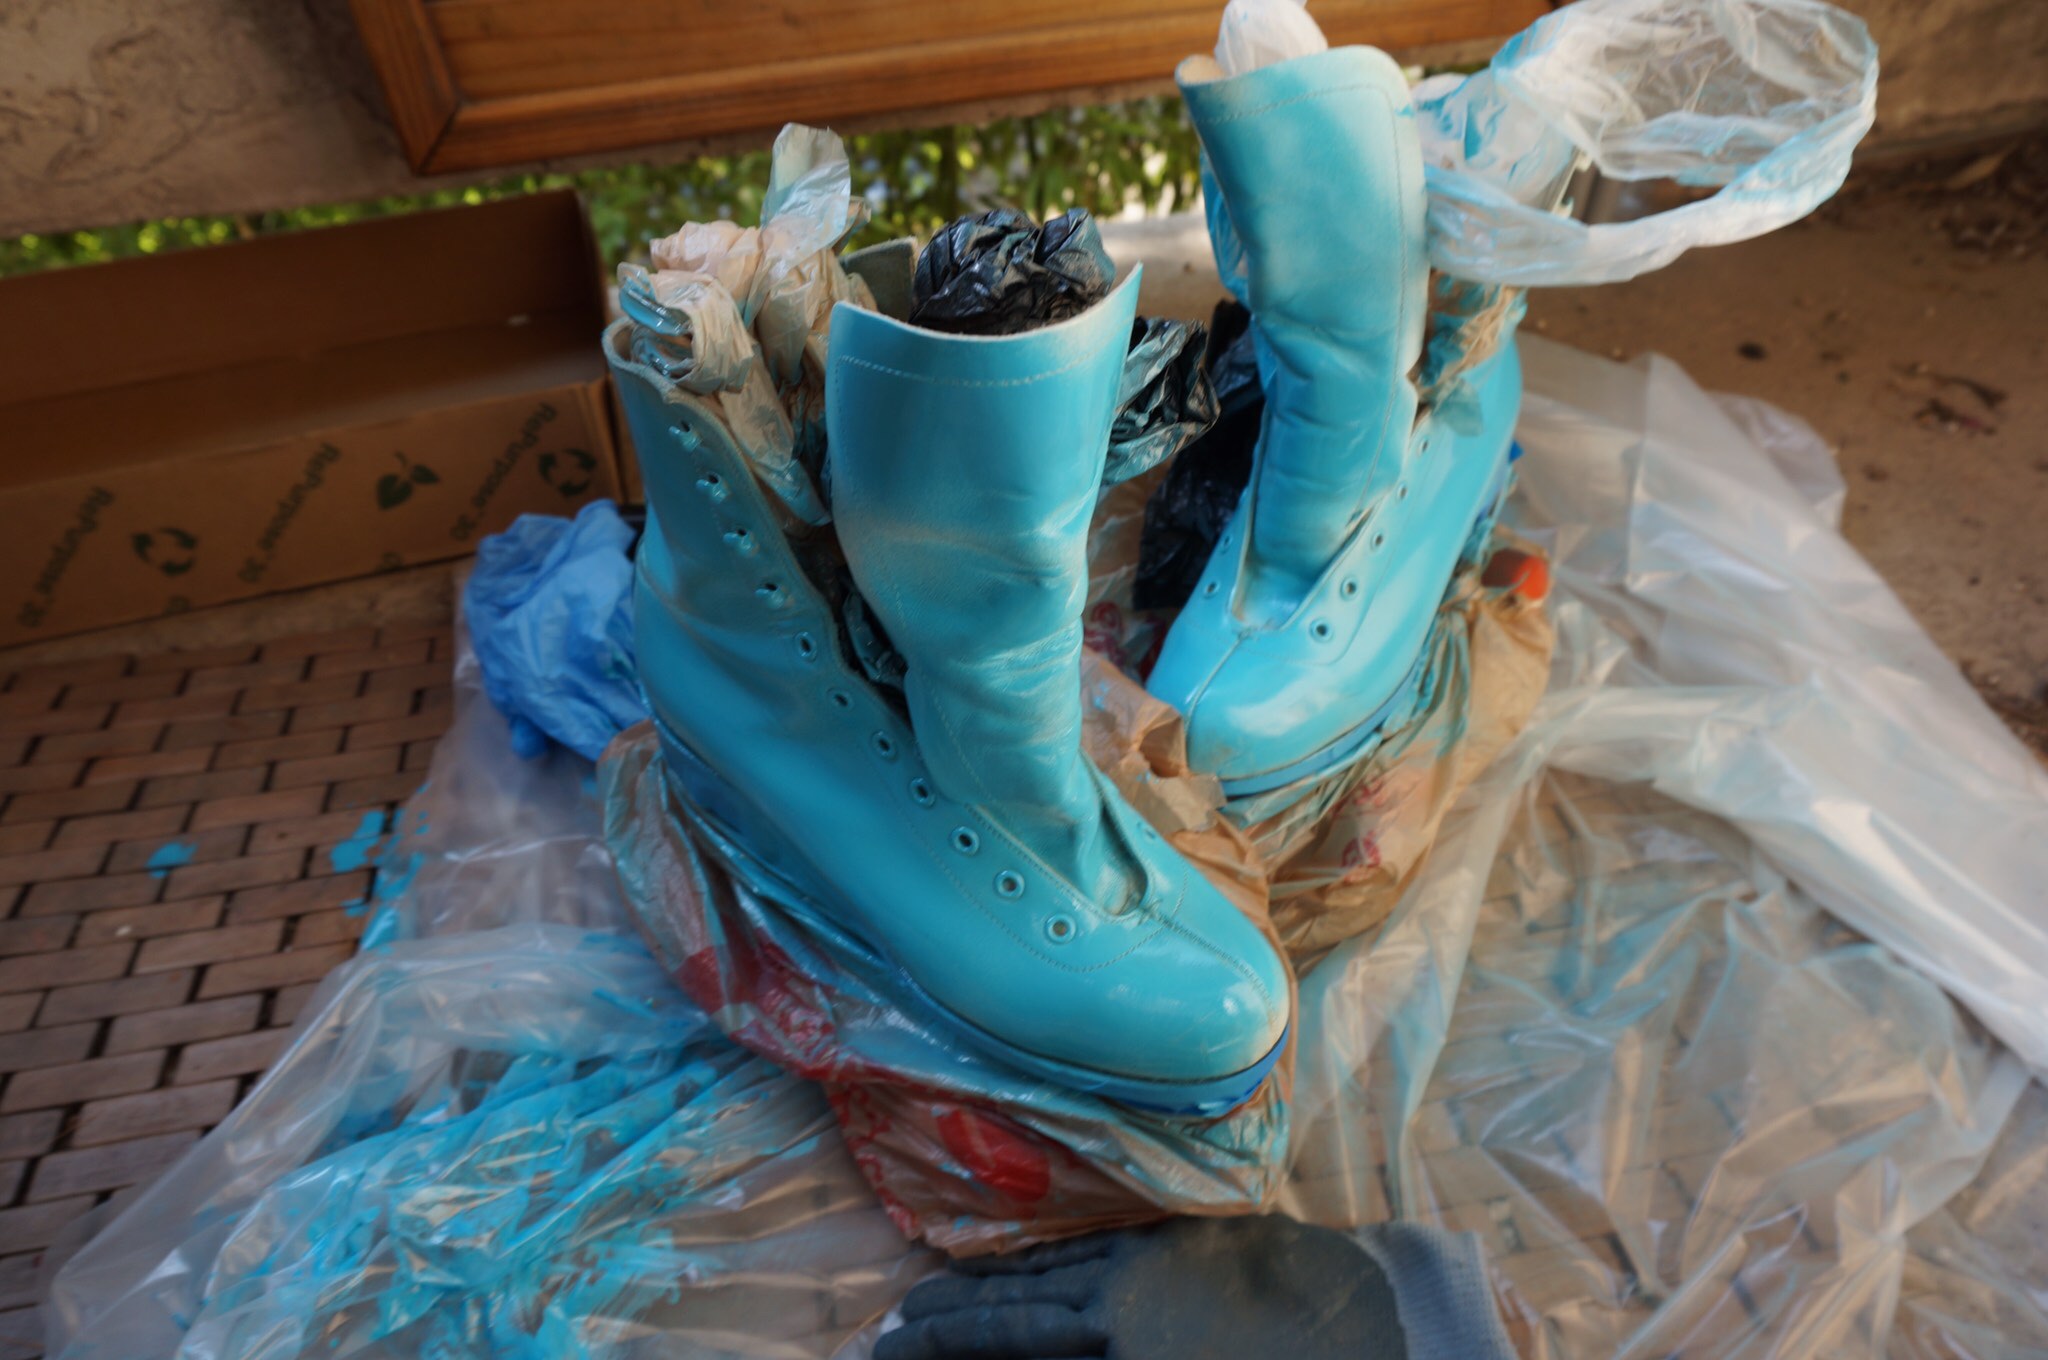
Step 3: Glitter! Layer one
– Use a sponge brush to smear around your first adhesive. I used a regular jar of Mod Podge and dampened the brush to thin it out a bit.
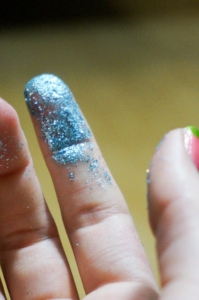
– Sprinkle your first layer of glitter, don’t worry about total coverage yet, just do as best you can and don’t hold back, because you can ideally reuse glitter that sloughs off.
– For me, it worked to do one side, then the other, then give special attention to the toe box, tongue and back.
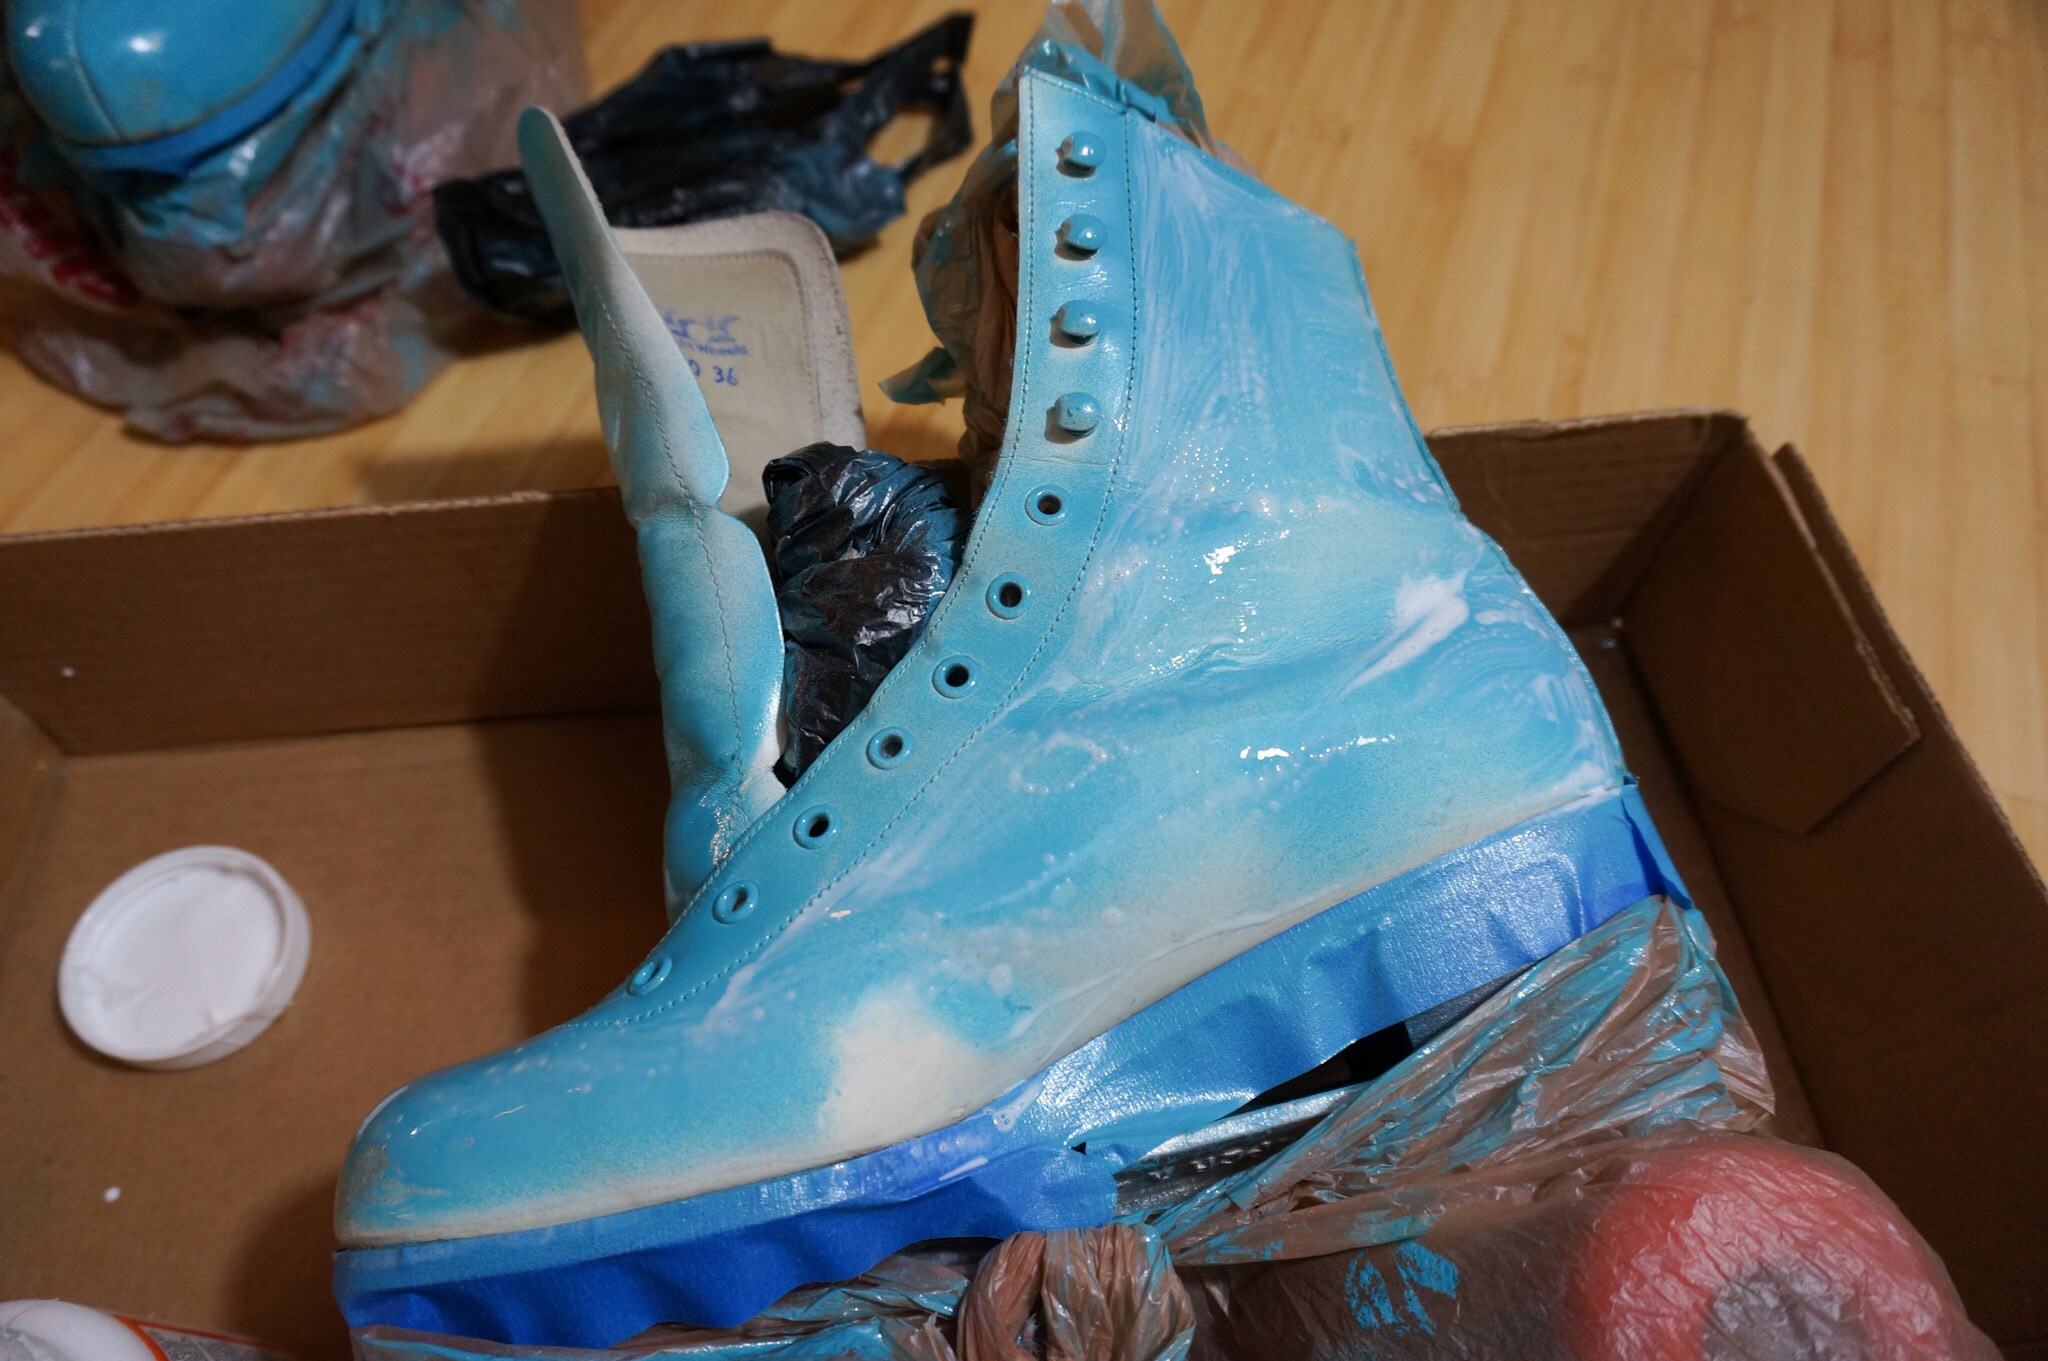

Step 4: Glitter! Layer Two
– Try not to move around glitter with your fingers if you miss spots on your first pass.
– If you have space to use the adhesive spray outside, take advantage of that. (I was a bad kid and did my first spray pass inside.)
– Spray the adhesive/sealer onto all of the splotchy areas and do another glitter pass.
Step 5: Seal
– I wised up and took things outside because I really wanted to seal these well.
– Knock off as much excess glitter as you can at this point.
– Then seal them with at least two layers of the sealer. (It only takes about 10 min between coats.)
Step 6: SKATE!

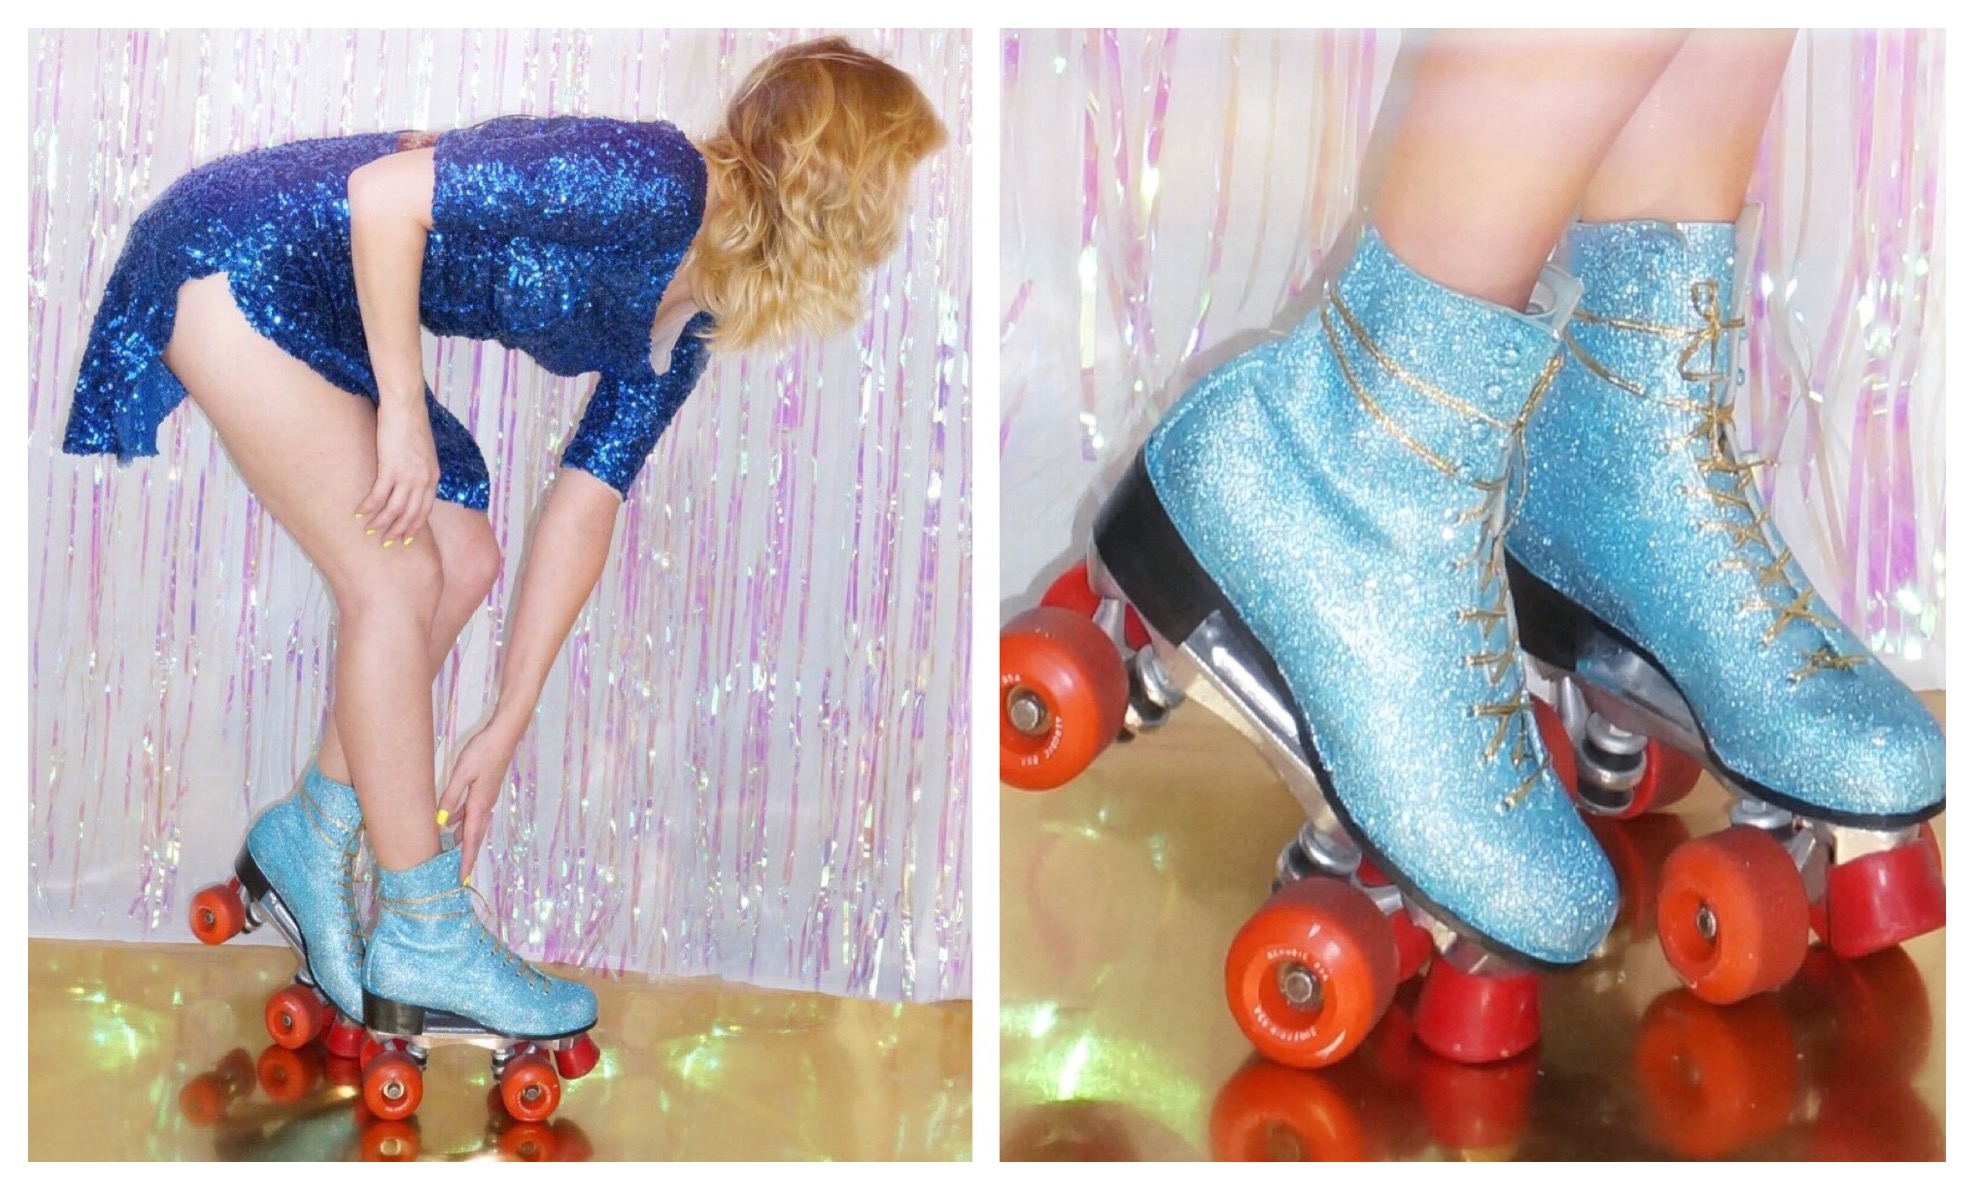
I had gotten other bling out initially, not knowing if I would want to throw some gems down the back or on the heel… In the end, I kind of liked that they still looked kinda old in spite of their glitter. I did opt for some new gold laces though, and now they feel like the glass slippers of roller skates.
This is the most fun mess I’ve ever made.
Step 7: Clean Up
– Meh… Maybe tomorrow
– And no, my couch is not covered in glitter, it simply “catches the light.”
